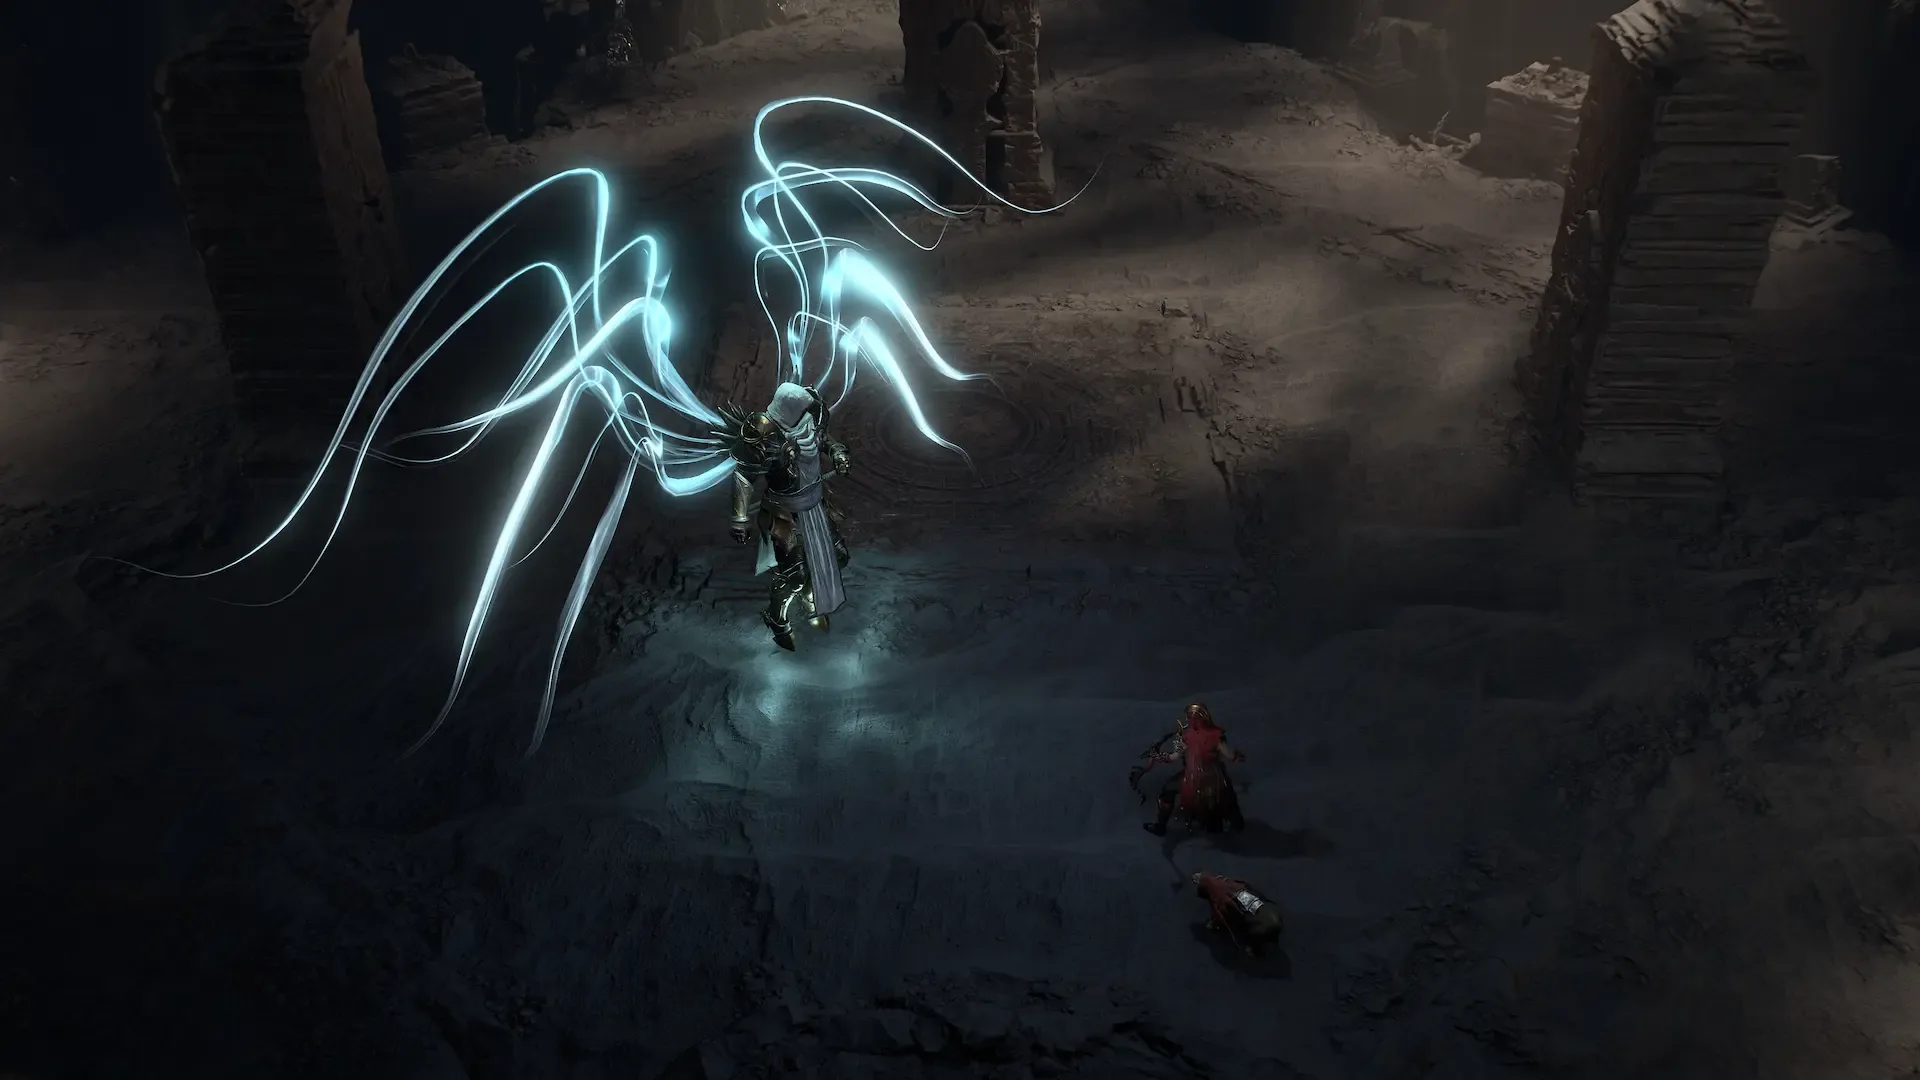

Astaroth's repeatable fight takes some preparation, but the route is straightforward once you know where to start. You'll need an Escalation Sigil and enough fire resistance to handle a long encounter, so check your D4 items before committing to the run. The battle has three stages: first Astaroth rides the Amalgam, then he fights on foot, and later both enemies attack together. Keep moving, watch the ground, and save an escape skill for the moments when the arena gets crowded.
Finding the Lair
The endgame version of Astaroth waits at the end of an Escalating Nightmare. There's no fixed entrance to look for on the open-world map. Set your difficulty to Torment I or higher, activate an Escalation Sigil, and travel to the dungeon it marks. Each completed dungeon opens a portal to the next stage. After three dungeons, follow the route into Astaroth's Lair. Start below Torment and the chain ends without the boss, so check your difficulty before using the sigil. The Act II campaign encounter is a separate fight.
| Entry item | Purpose | Where to obtain it |
|---|---|---|
| Nightmare Dungeon Sigil | Opens a standard Nightmare Dungeon | Available through regular gameplay |
| Escalation Sigil | Starts the linked dungeon chain | Possible Strongroom cache reward or Horadric Cube recipe |
Getting Ready for the Run
Horadric Strongrooms can appear during Nightmare Dungeons. Complete the encounter, defeat the boss, and open the available Grand Horadric Cache for a chance at an Escalation Sigil. If one doesn't drop, you can try another Strongroom. The Horadric Cube offers another option: combine five ordinary Nightmare Dungeon Sigils to make one Escalation Sigil. Take a moment to inspect them before confirming. Once you're inside the chain, read the affixes between dungeons. They build up on Torment and can make the later fights much tougher than the first.
Surviving the Fight
When Astaroth is mounted, try to stay beside the hound. Its fire attack and his staff swing make the space in front dangerous. Move away from smoky landing circles when the Amalgam jumps, and give the pursuing orb room; it can leave a damaging pool. Once Astaroth is on foot, watch for his charge and the fire it leaves behind. Keep a path open as the flame wave moves around the arena. The hound returns later and can revive if it falls first, so concentrate on Astaroth while keeping both enemies in sight.
Rewards and Another Route
Astaroth can drop Ancestral equipment, class-specific Unique items, and Mythic Uniques, though there's no guarantee you'll get a particular piece. Repair your gear, make room in your inventory, and consider how much D4 Gold you'll need for upgrades before repeated attempts. If you're after his reward pool rather than the fight itself, Belial offers another route. Defeat him in the Palace of the Deceiver, then use a Superior Lair Key to open the Hoard and select a reward pool.